We met up at a local church which is a very pleasant and inspirational place to work in, not just because of the light streaming in through the windows but also due to the many colourful 'banners' or quilted posters hung all around the walls.
Here are a couple of pics showing us at work - you don't usually get to see us as we are a little camera shy and this blog is to showcase our work and activities but these came out very well, so here goes.

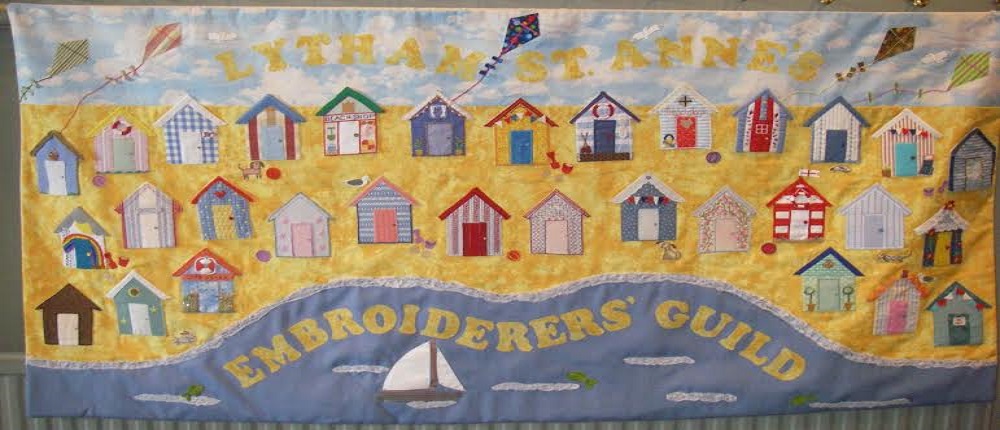
Sewing makes us happy :-)

There have been several groups since that first one back in 2013; who have benefited from the knowledge and expertise of our talented long time member, Sue Bennet who devised 5 Lessons on Free Machine Embroidery. Now due to popular demand she has created a 6th Lesson to teach us how to 'draw' grass, trees, mountains and other features of a landscape; using an ordinary domestic sewing machine.
Dropping the Feed Dogs (the teeth that hold onto the fabric and help push it through the machine) and adding a Darning Foot (aka a 'hopper' foot - so called due to the hopping up and down motion it makes as you sew) allows you to move the fabric freely where you wish - hence the term 'free motion' or 'free machine'. This is also the technique used for Quilting by domestic machine.
Dividing a 12 inch square of light/plain fabric backed by Iron on Vilene to strengthen it; into 9 individual 3 1/2 inch squares
( separated by a 1/4 inch gap) allowed us to practise free machining different elements of a landscape to give us the confidence to create a whole picture at a future time.
Here is a quick peek at Lesson 6.

In order to keep each post to a decent length, this one will only feature the first mini-lesson where we learnt how to sew grass and corn.
First we added colour to the fabric using watercolour pencils. These are softer than ordinary colouring pencils and have more pigment in them. There is also the option of laying down a little colour onto paper or a palette/plate or saucer and adding water to it for a more subtle colour ( or if using Inktense Pencils adding water will enhance the colour. So beware if you have these type of pencils or blocks as the colour is really very bright and Intense (hence the name).
Grass needs to be coloured horizontally and corn is vertical to follow the natural growth pattern.

Though the description here may describe what to do, its actually seeing the motion you need to make whilst moving your fabric under the needle and advice on the stitches to use and their length that is invaluable; so if you are having trouble and/or fancy learning this useful skill, do get in touch with us (details of our meetings etc on the right side bar) and book some lessons with Sue. She is also currently teaching the Preston Embroiderers Guild Group.
Below are a few of our efforts.


Look at images from magazines or books for inspiration but nothing beats having your own images, so don't forget to use the camera on your phone when you are out and about. You will find that you never look at fields in quite the same way again :-)
One last thing to bear in mind is the type of fabric you use and the vilene. You may have noticed some puckering in one or two examples shown above - this is due to the build up of stitches on the ordinary cotton fabric which is not quite up to the job. You will need to back your fabric with Medium Weight Iron-on-Vilene in every case but if you are going to cover the whole piece and work intensely on it Calico is a better option. Some also swear by Cotton Sateen which unlike calico is white and has a lovely sheen and feel to it (FYI the sheen is not too noticeable so won't interfere with the effects you are trying to make).
That's all for this post - look out for the next one showing how to stitch mountains.
Many thanks to Sue B for all her hard work, patience and enthusiasm, not just in this workshop but behind the scenes with all the lessons she has invented, planned and executed over the last 4 years. You are amazing Sue and we are so very grateful and glad to have you in our group!
No comments:
Post a Comment