Here are two of Sue's samples to whet your appetite.

Below, using buttons to make your own Monogram. This time with Pistil Stitches and French Knots.

The designs got gradually more complex using stitches for the more experienced embroiderers.
If you would like to learn more, Sue is happy to discuss teaching your group; so get in touch by the usual Embroiderers Guild channels or come and see us at the address on the left side bar. You are sure to have fun and learn new ways with buttons and stitches.
If you would like to learn more, Sue is happy to discuss teaching your group; so get in touch by the usual Embroiderers Guild channels or come and see us at the address on the left side bar. You are sure to have fun and learn new ways with buttons and stitches.
Here are our group efforts - most are still WIPs but the following photos will show you what we were up to :-)


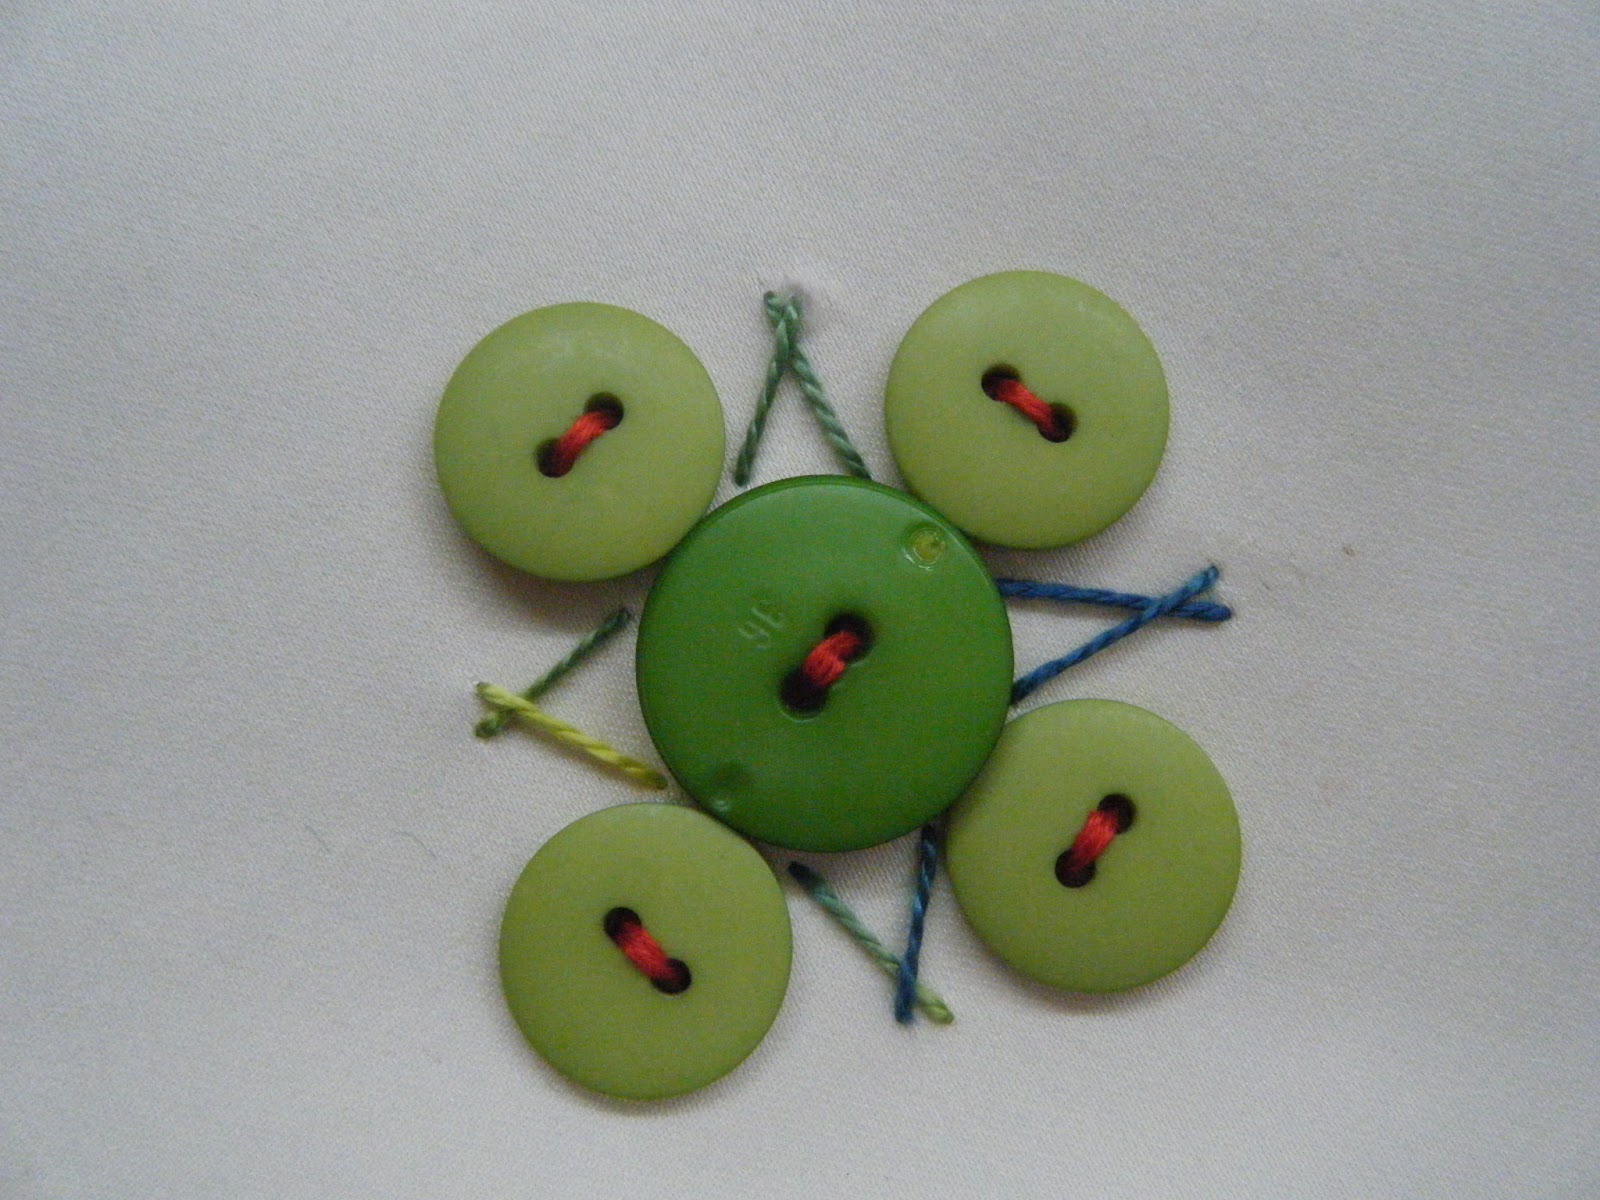
Getting a little more complex, below, is Spiders Web ( over one spoke back and under two forward each time) in lilac over the centre of the button with needle weaving under and over the thread 'spokes' that fan out in different lengths from the button.
Using a patterned fabric also adds interest.


Straight stitches can look satisfyingly complex, above and below. Using pretty shaped buttons also gives the illusion of a complicated stitch and is a good idea if you are a beginner.

Add beads for extra ooomph.... or use coloured and variegated threads in complimentary or contrasting colours to the buttons for a fun look.
Or go big and mash it up with different coloured threads and beads on a colourful background (green fabric more vivid in real life!) as below using Pistils and Spiders Web.

That is all for this post. Hope you enjoyed spotting your work - if not it will be in the one following.
Many thanks to Sue for coming up with some great ideas, providing beautifully executed examples to spark our imagination and providing a detailed Worksheet explaining the various stitches we could used on our own buttoned pieces.
We won't be able to look at a button in quite the same way again :-)
If you fancy a go yourself, have a rummage through your button box and grab some thread ( Perle No 8 was used as its not too thick and less likely to split going over the buttons as a stranded embroidery floss) then let your imagination take over.
Or call in on us at our next meeting (details on right side bar) and ask for a worksheet.
No comments:
Post a Comment